
Tags
cat, cooking, deep fried, easy, frying, fun, girls, Hairless cat, MN State Fair, oil, pickle chips, pickles, recipes, seventeen, shpinx, teen
Hi everyone,
Here we go on my very first ever blog post!!!
I decided to make fried pickle chips for my first recipe. This was my choice mostly because I had all the ingredients the day I spontaneously decided to start a blog, and because they are DELICIOUS!! I first tried pickle chips at the State Fair (it’s a huge deal in MN) and I fell in love. I tried to recreate them on the grill but … no. So when my parents recently bought me a FryDaddy as a fun gift I couldn’t wait to try them!
This recipe is really for a super great beer batter I found, so you can totally use it for fish or any other thing you want to put in your fryer. Here is the link for the original recipe I used http://allrecipes.com/recipe/beer-batter/
Ingredients for the batter
1 c all-purpose flour
1 egg, beaten
1 tsp garlic powder
1/2 tsp ground black pepper
1 1/2 c beer (or a 12 oz bottle)
Ingredients for frying
Pickles
A few cups of flour (enough to lightly coat the pickles)
Enough oil to fill your fryer (read directions for your own fryer carefully!)
Part 1: Making the batter
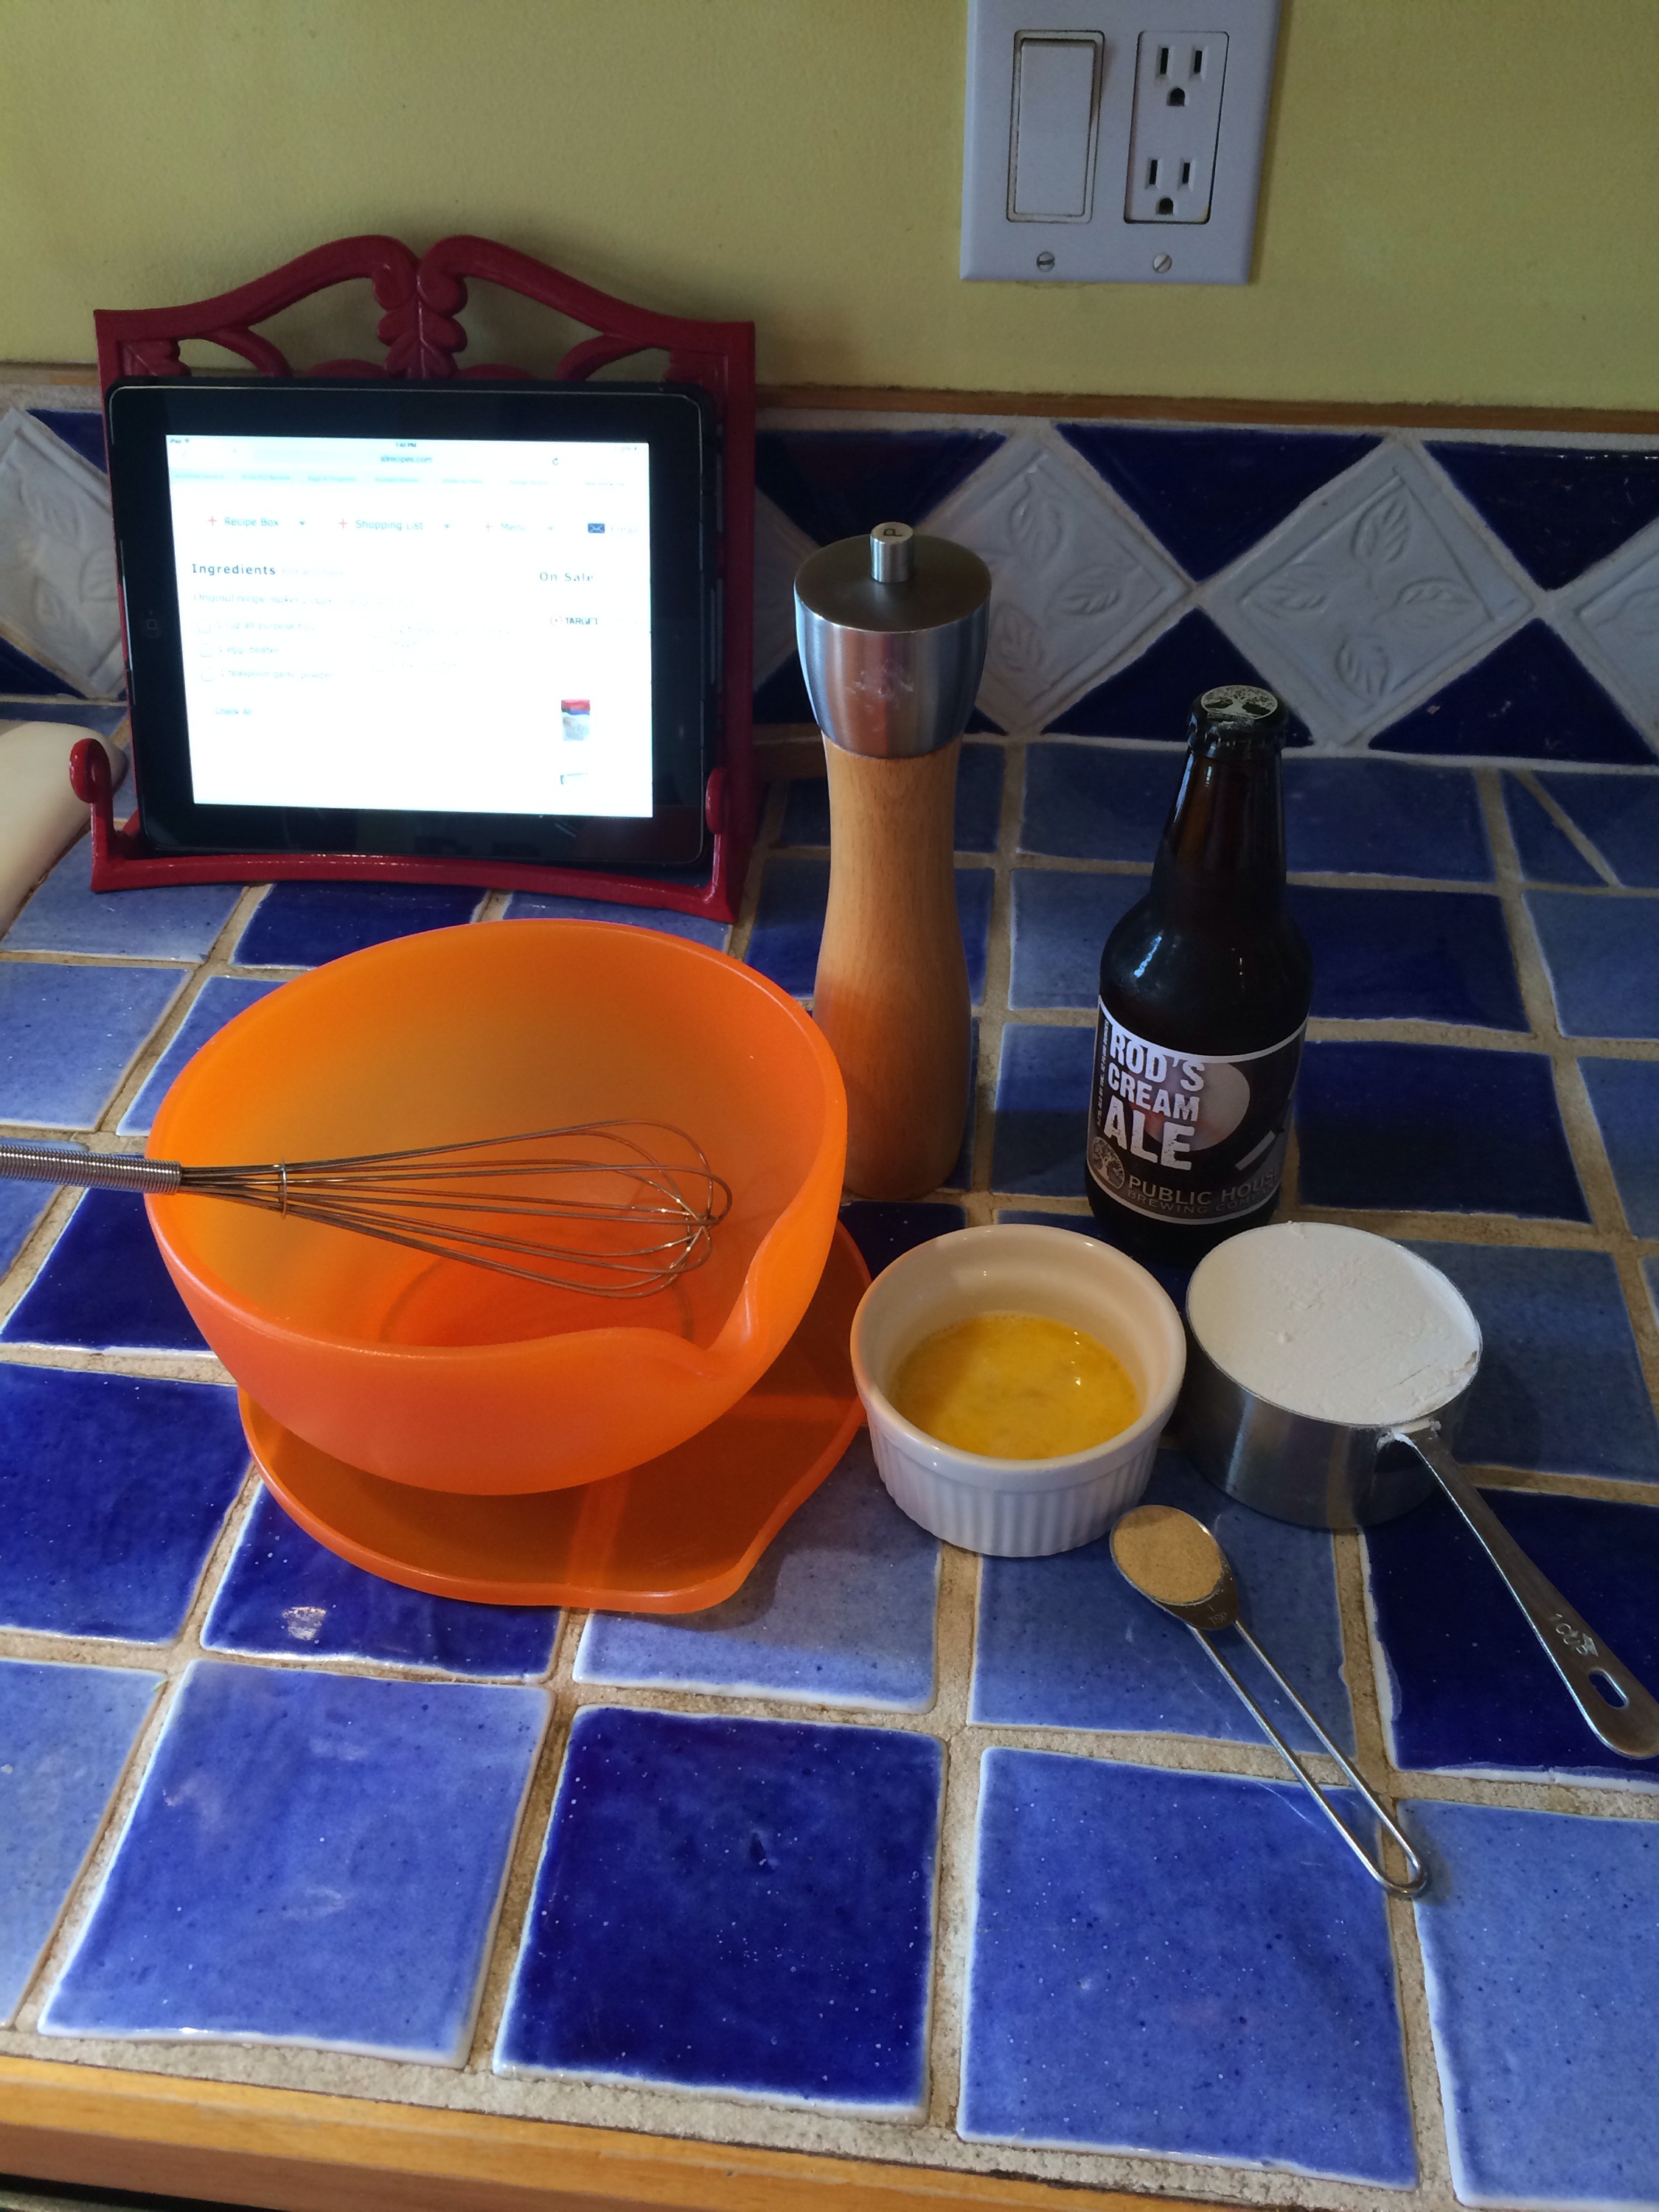
It’s a good idea to set out all of your ingredients to make sure you aren’t missing anything
The recipe for the beer batter is pretty much a no brainer you just combine the flour, egg, garlic, and pepper. One tip to start off is that I used a bowl with a cover because I was not frying until later in the day and I wanted to store the batter easily. It worked quite well.

Add all the ingredients to the bowl
Next, stir in the beer. The first time I made this, I got a little flustered when the beer got all foamy because I couldn’t see what was going on in the bowl, and I was worried I would over mix the batter. My tip for you is to just give it a few light stirs with a whisk after pouring in the beer, and then just wait until the foam goes down. Seems simple saying it, but when the foam started going the first time I wasn’t sure what to do.
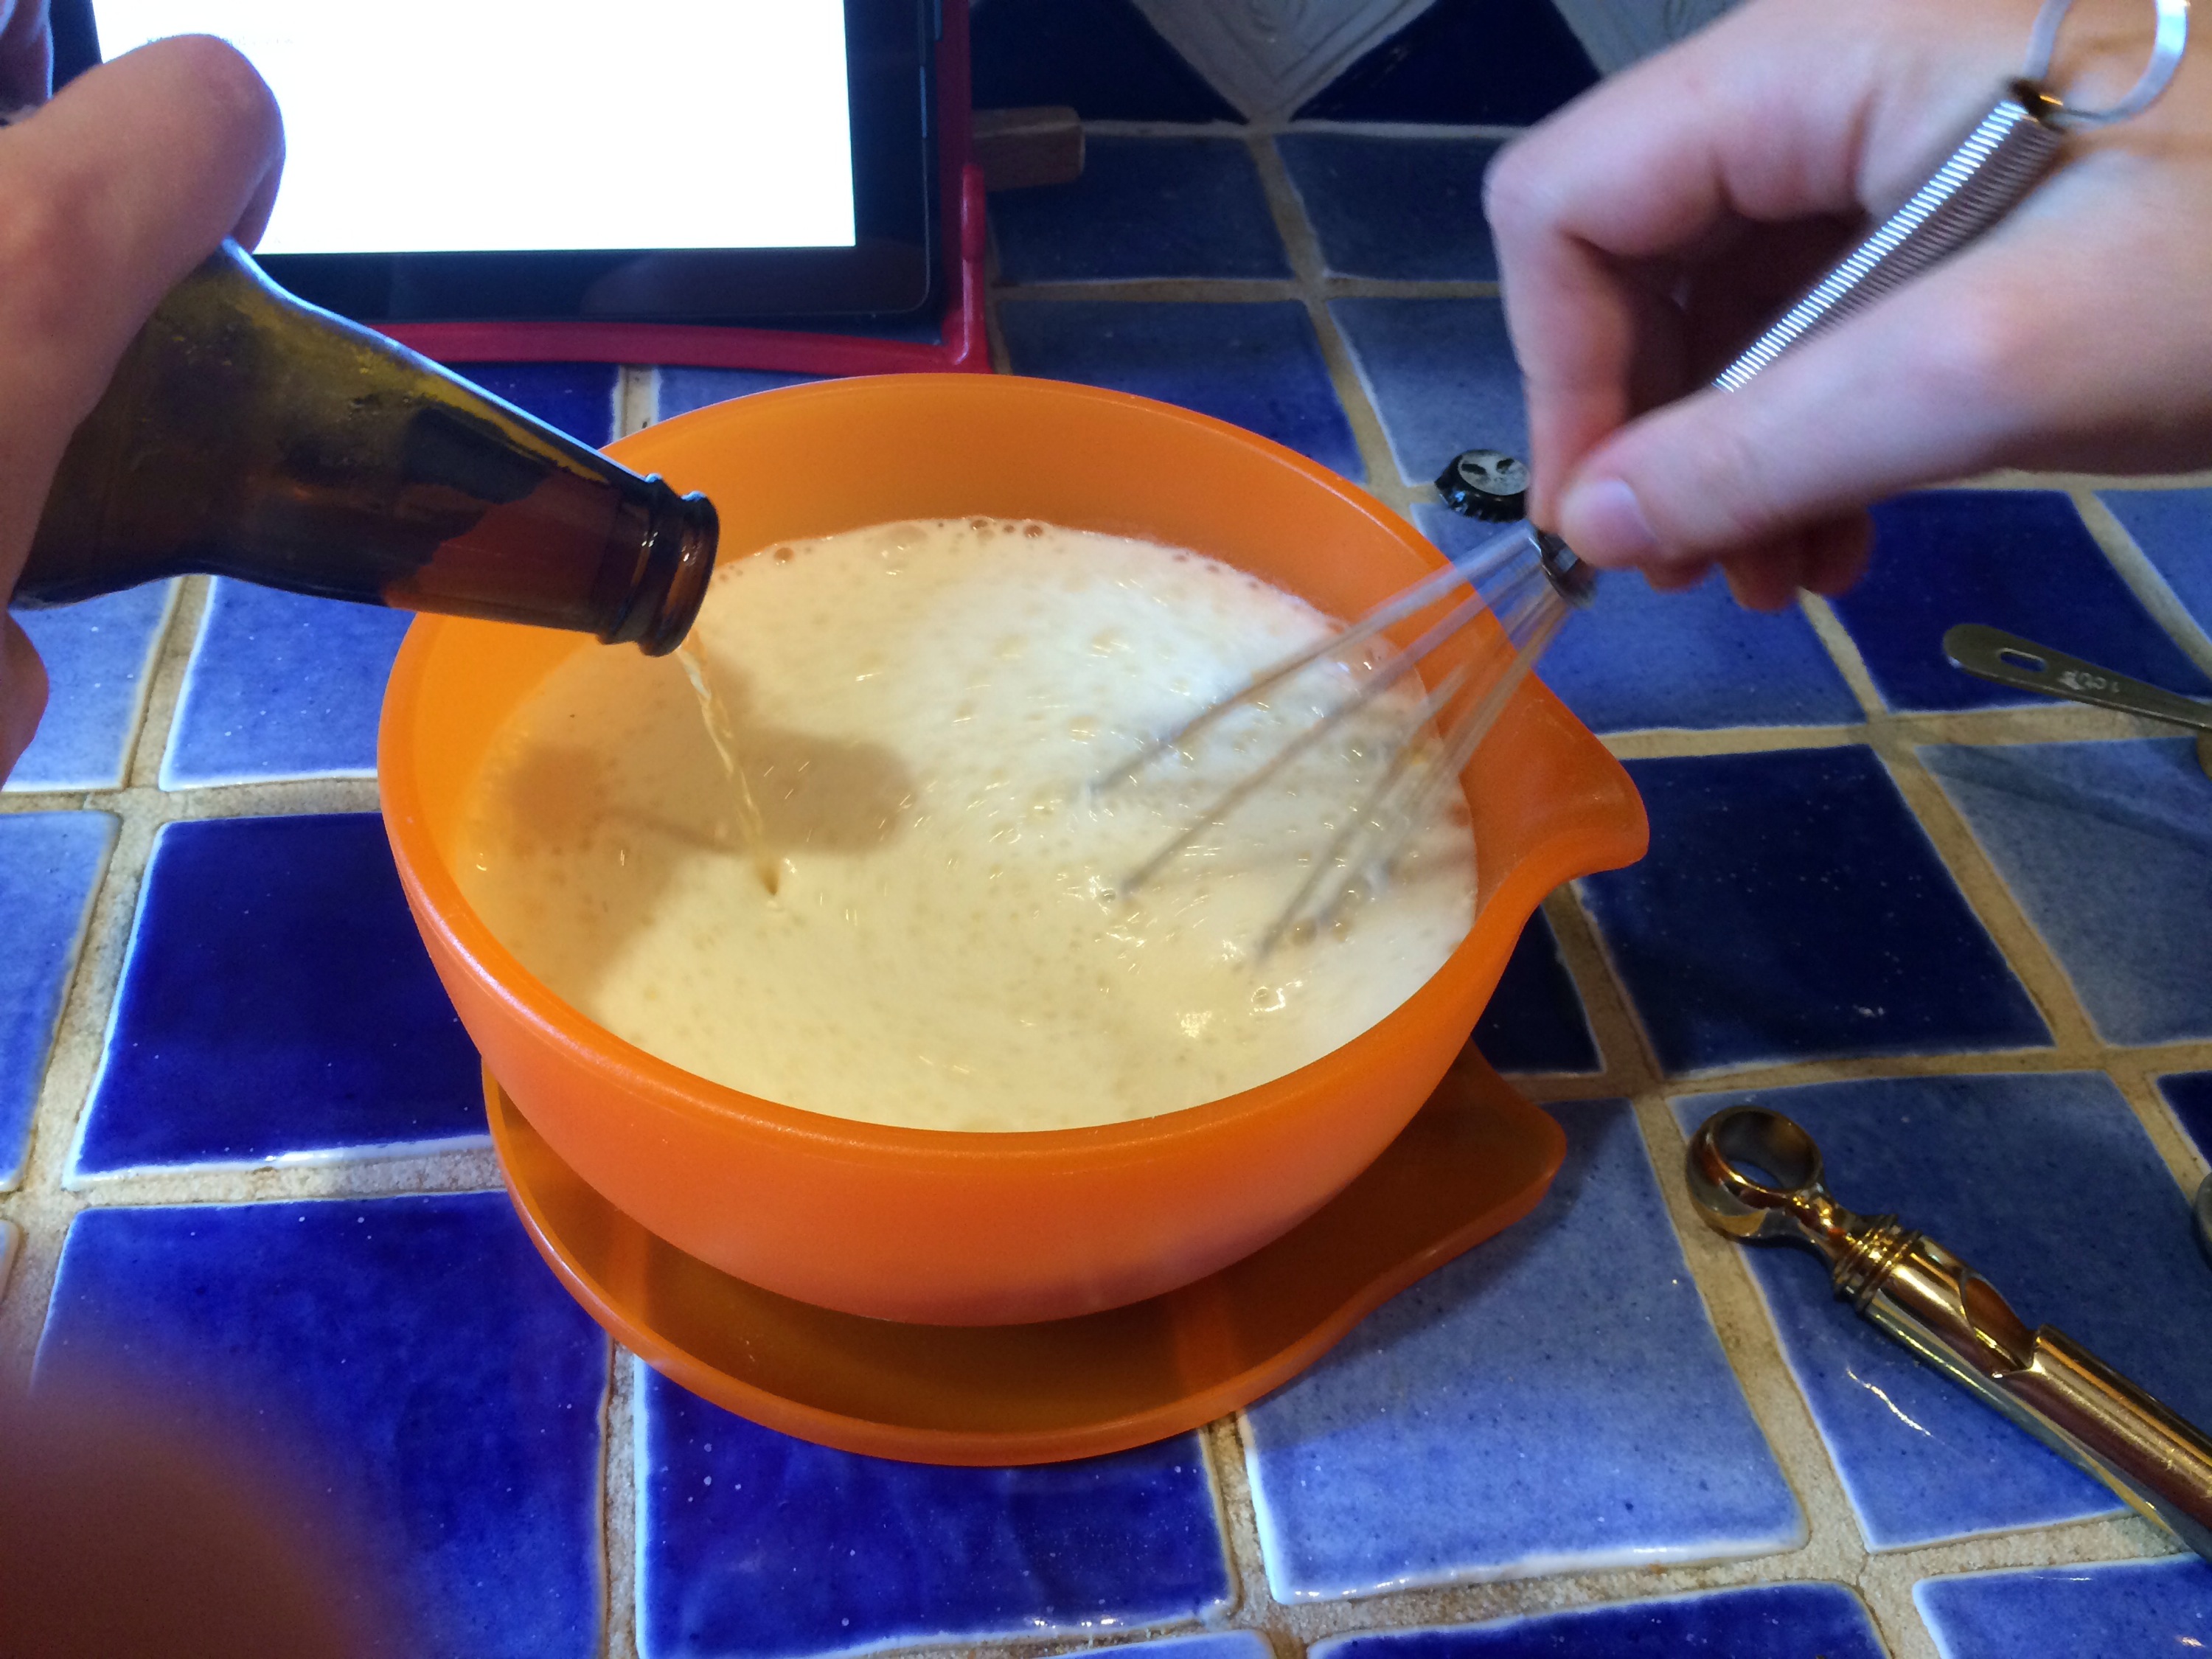
Stir in the beer
Once all of the foaming is done, just use a whisk and stir it gently to get rid of all of the clumps and make sure the batter is fully mixed.
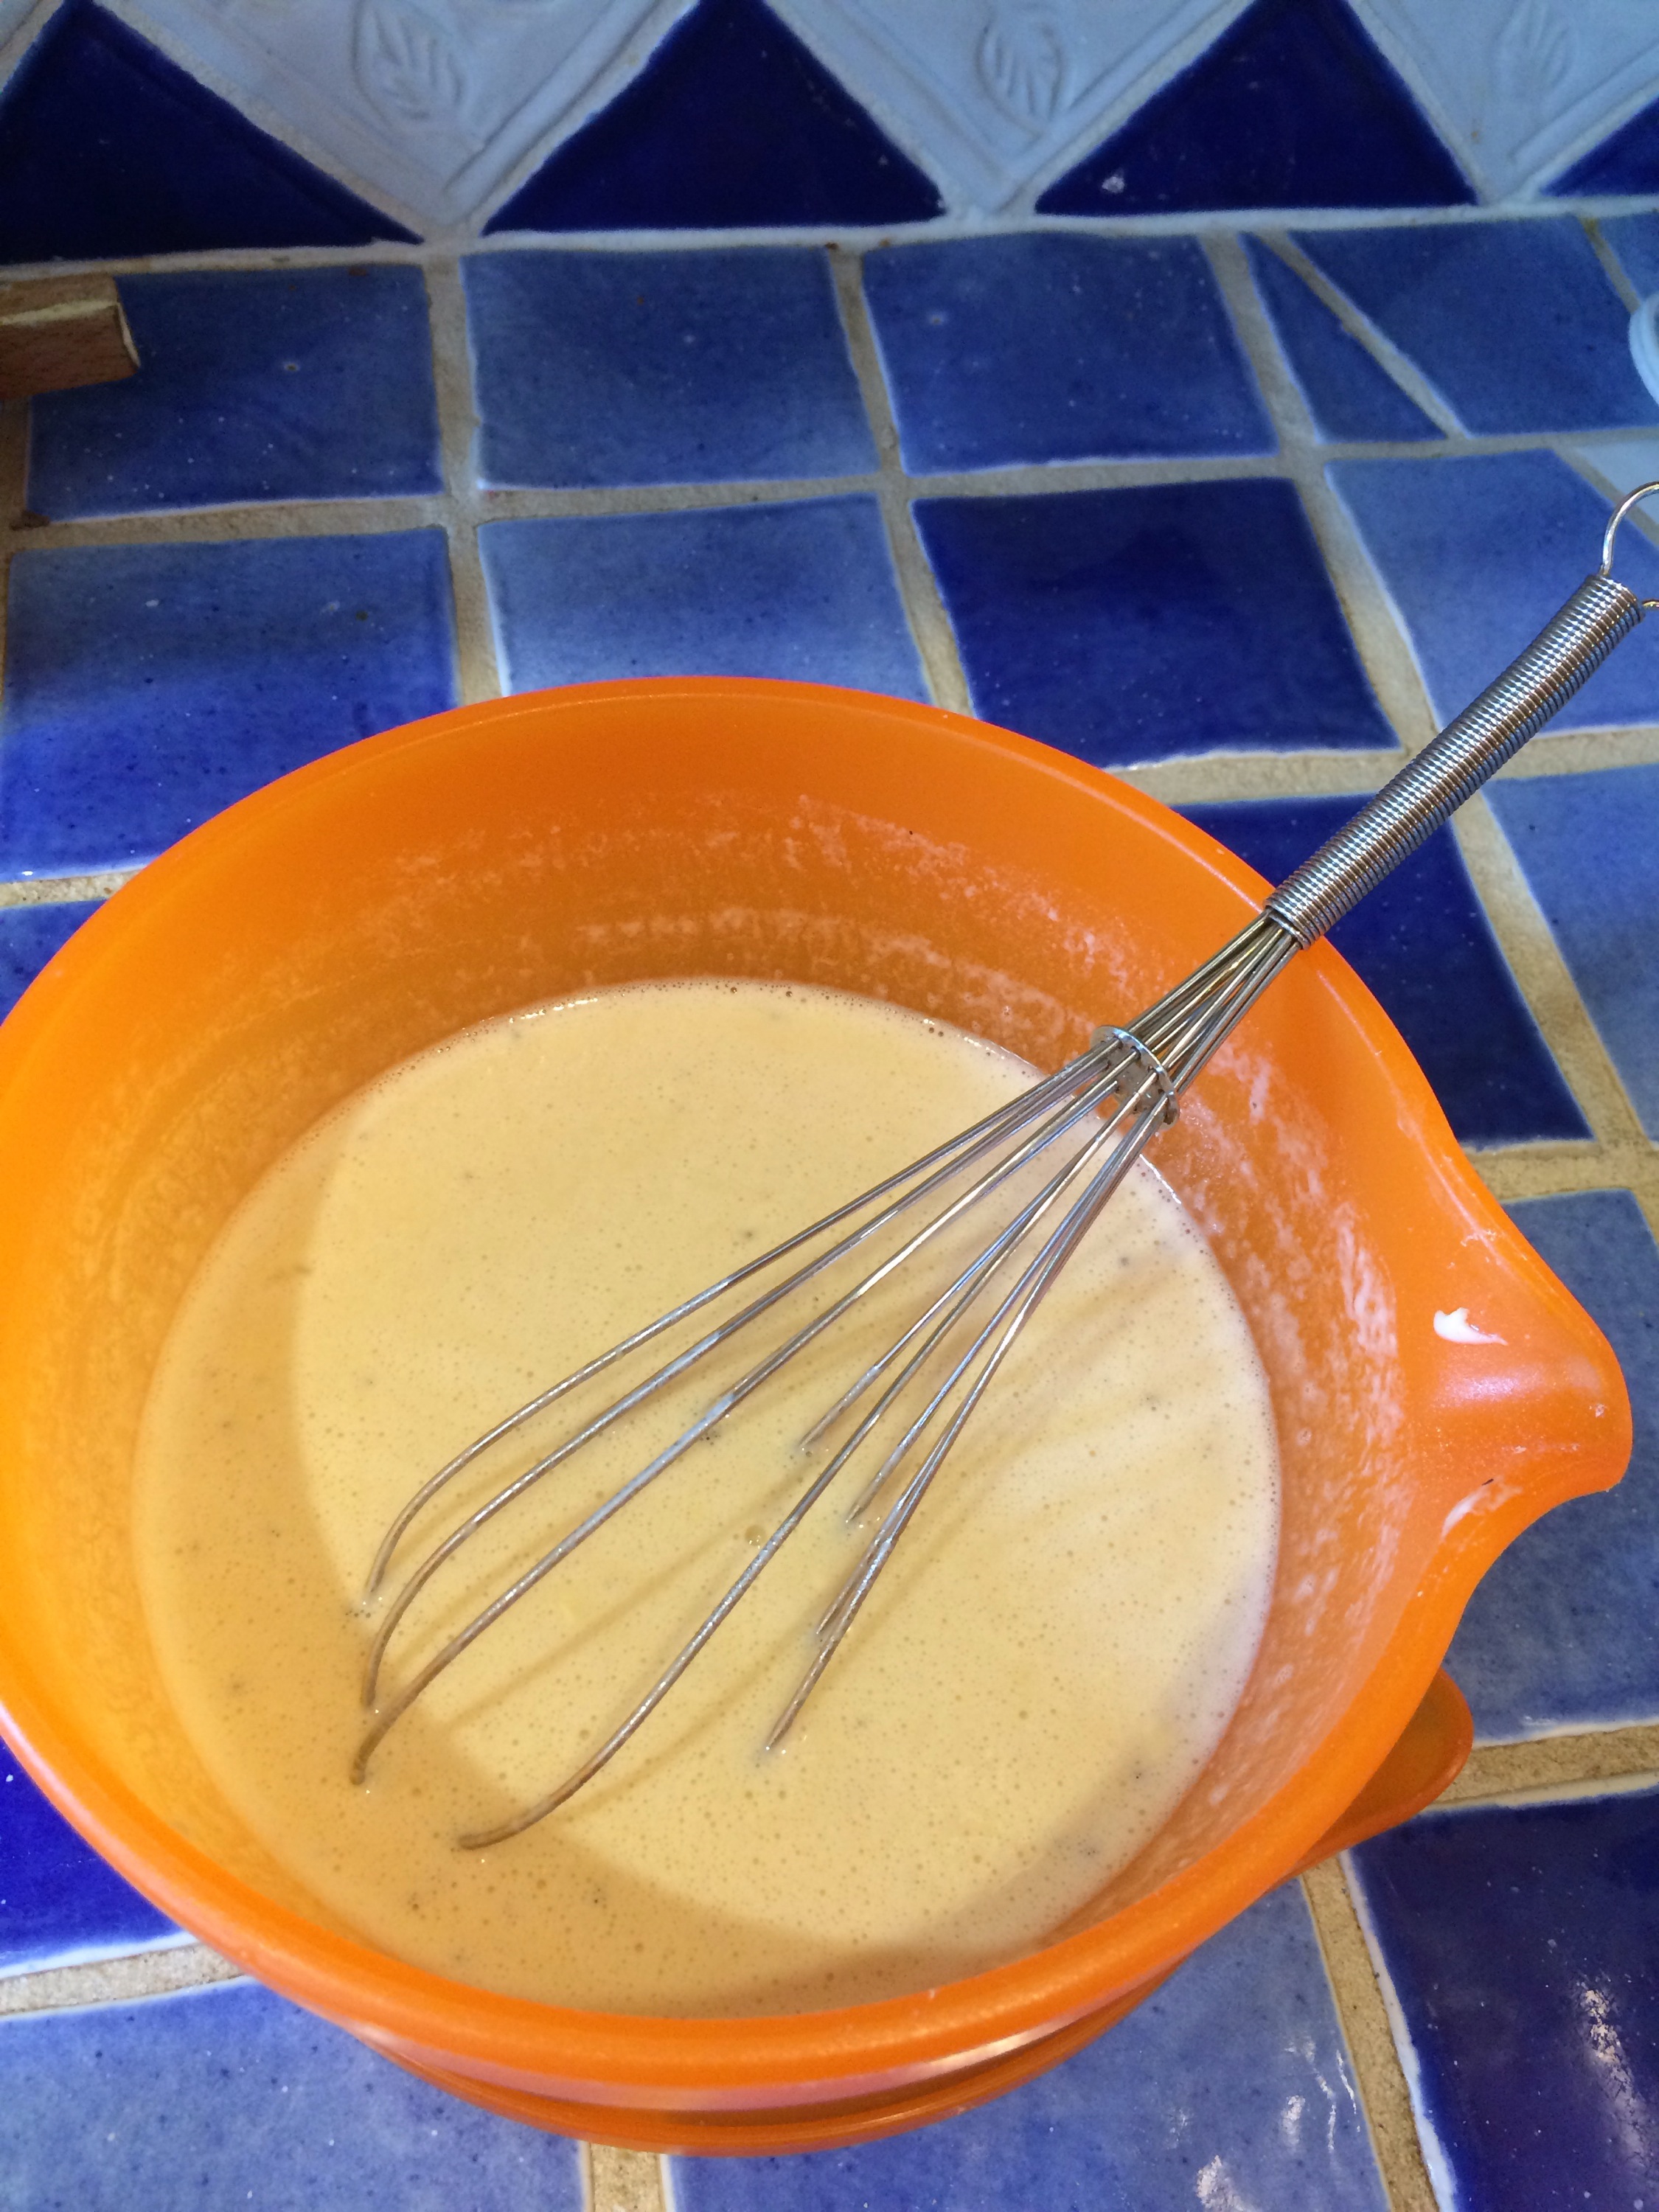
Make sure the batter is well combined but try not to over mix
After that, I popped the lid on and spent 45 minutes finding a spot in the fridge big enough for the bowl, LOL. Once the batter was in the fridge, I spent the rest of the day making Mowgli a new sweater, while I waited for my friends to come over and help me fry!

Even though it is summer, Mowgli still loves to keep warm in his new 2 ply cashmere sweater!
Part 2: Frying your pickles!
Now we get to the fun part. I invited some friends over to help me with this step, and it ended up being a really fun party activity. Just a quick warning though, this is not a good activity for young kids. It can be a fun family venture but, maybe have your young ones sit this one out. The hot oil can be very dangerous if you are not careful. So, read the directions carefully on your fryer! Additionally, depending on your age, have a parent help with initial set up to avoid any unnecessary accidents. Overall, just be careful, and have fun, just don’t get rowdy around the hot oil or anything 🙂

I threw a little party on my rooftop patio and the pickle chips were a huge hit!
So now that I have given my public service announcement about safety, we can get to the good stuff!
OK, quick side note. I made a huge mistake by giving Mowgli some catnip directly before I started frying pickles. I thought it would be fun to see him high; unfortunately, he went insane, jumping everywhere and biting my feet. It was kind of cute; however, I couldn’t have him going crazy around the hot oil! So I had to close him in the bathroom 😦 poor thing I could hear his forlorn meowing from the kitchen. Better than him getting a 3rd degree burn though.

Mowgli did not enjoy his exile into the bathroom
Now ACTUALLY to the frying part, LOL. You have been waiting long enough!
So the very first step when frying is to get everything set up in an orderly manner. You don’t want to have to be reaching over the hot oil or accidentally touching the side of the fryer. You are going to need, set in this order, a bowl of pickle chips, a paper towel (to dry the brine off the pickles), a shallow, wide bowl of flour, the bowl of fry batter, the fryer (depending on how big yours is you may have to modify the fryer placement), and finally, a plate covered in paper towels to put your final product on! Also, don’t forget a slotted spoon to move the pickles in and out of the hot oil.
One more quick thing, after I took the batter out of the fridge, it had separated a bit. If this happens to you. Don’t fret, just use a spoon to stir it a bit until it has recombined and you are good to go.

I had to place my fryer back a little bit because the cord was very short
Now that everything is prepped, let’s get frying (for real this time!)
First step: using the paper towel, lightly dry the brine off of the pickles. This will help the batter stick better.

Lightly press the pickle against a paper towel to remove excess brine
Next, place the pickle in the bowl of flour, and get a light coating of flour all around the pickle. I used a shallow, wide bowl because it minimizes waste, and because less flour touches the pickle and gets sticky.

flour both sides of the pickle
Third, dip the floured pickle in the batter. In the pictures I use a spoon for this step; however, as I went along, I found that just using your fingers to dip it in the batter works just as well if not better. It all depends on how messy you are willing to get 🙂

Dip the pickle in batter
After the pickle is battered, place it on your slotted spoon and gently ease it into the oil. DO NOT just drop it in!!! If you just drop it, the oil will splash out and can get on you and burn you.

Gently ease the pickle into the oil to avoid splash back
You are almost there! Now, just keep stirring the pickles in the fryer. When they are golden brown, take them out and place them on the plate covered with a towel. The paper towel will help soak up any excess grease so the chips are crispy and not soggy from sitting in their own oil.
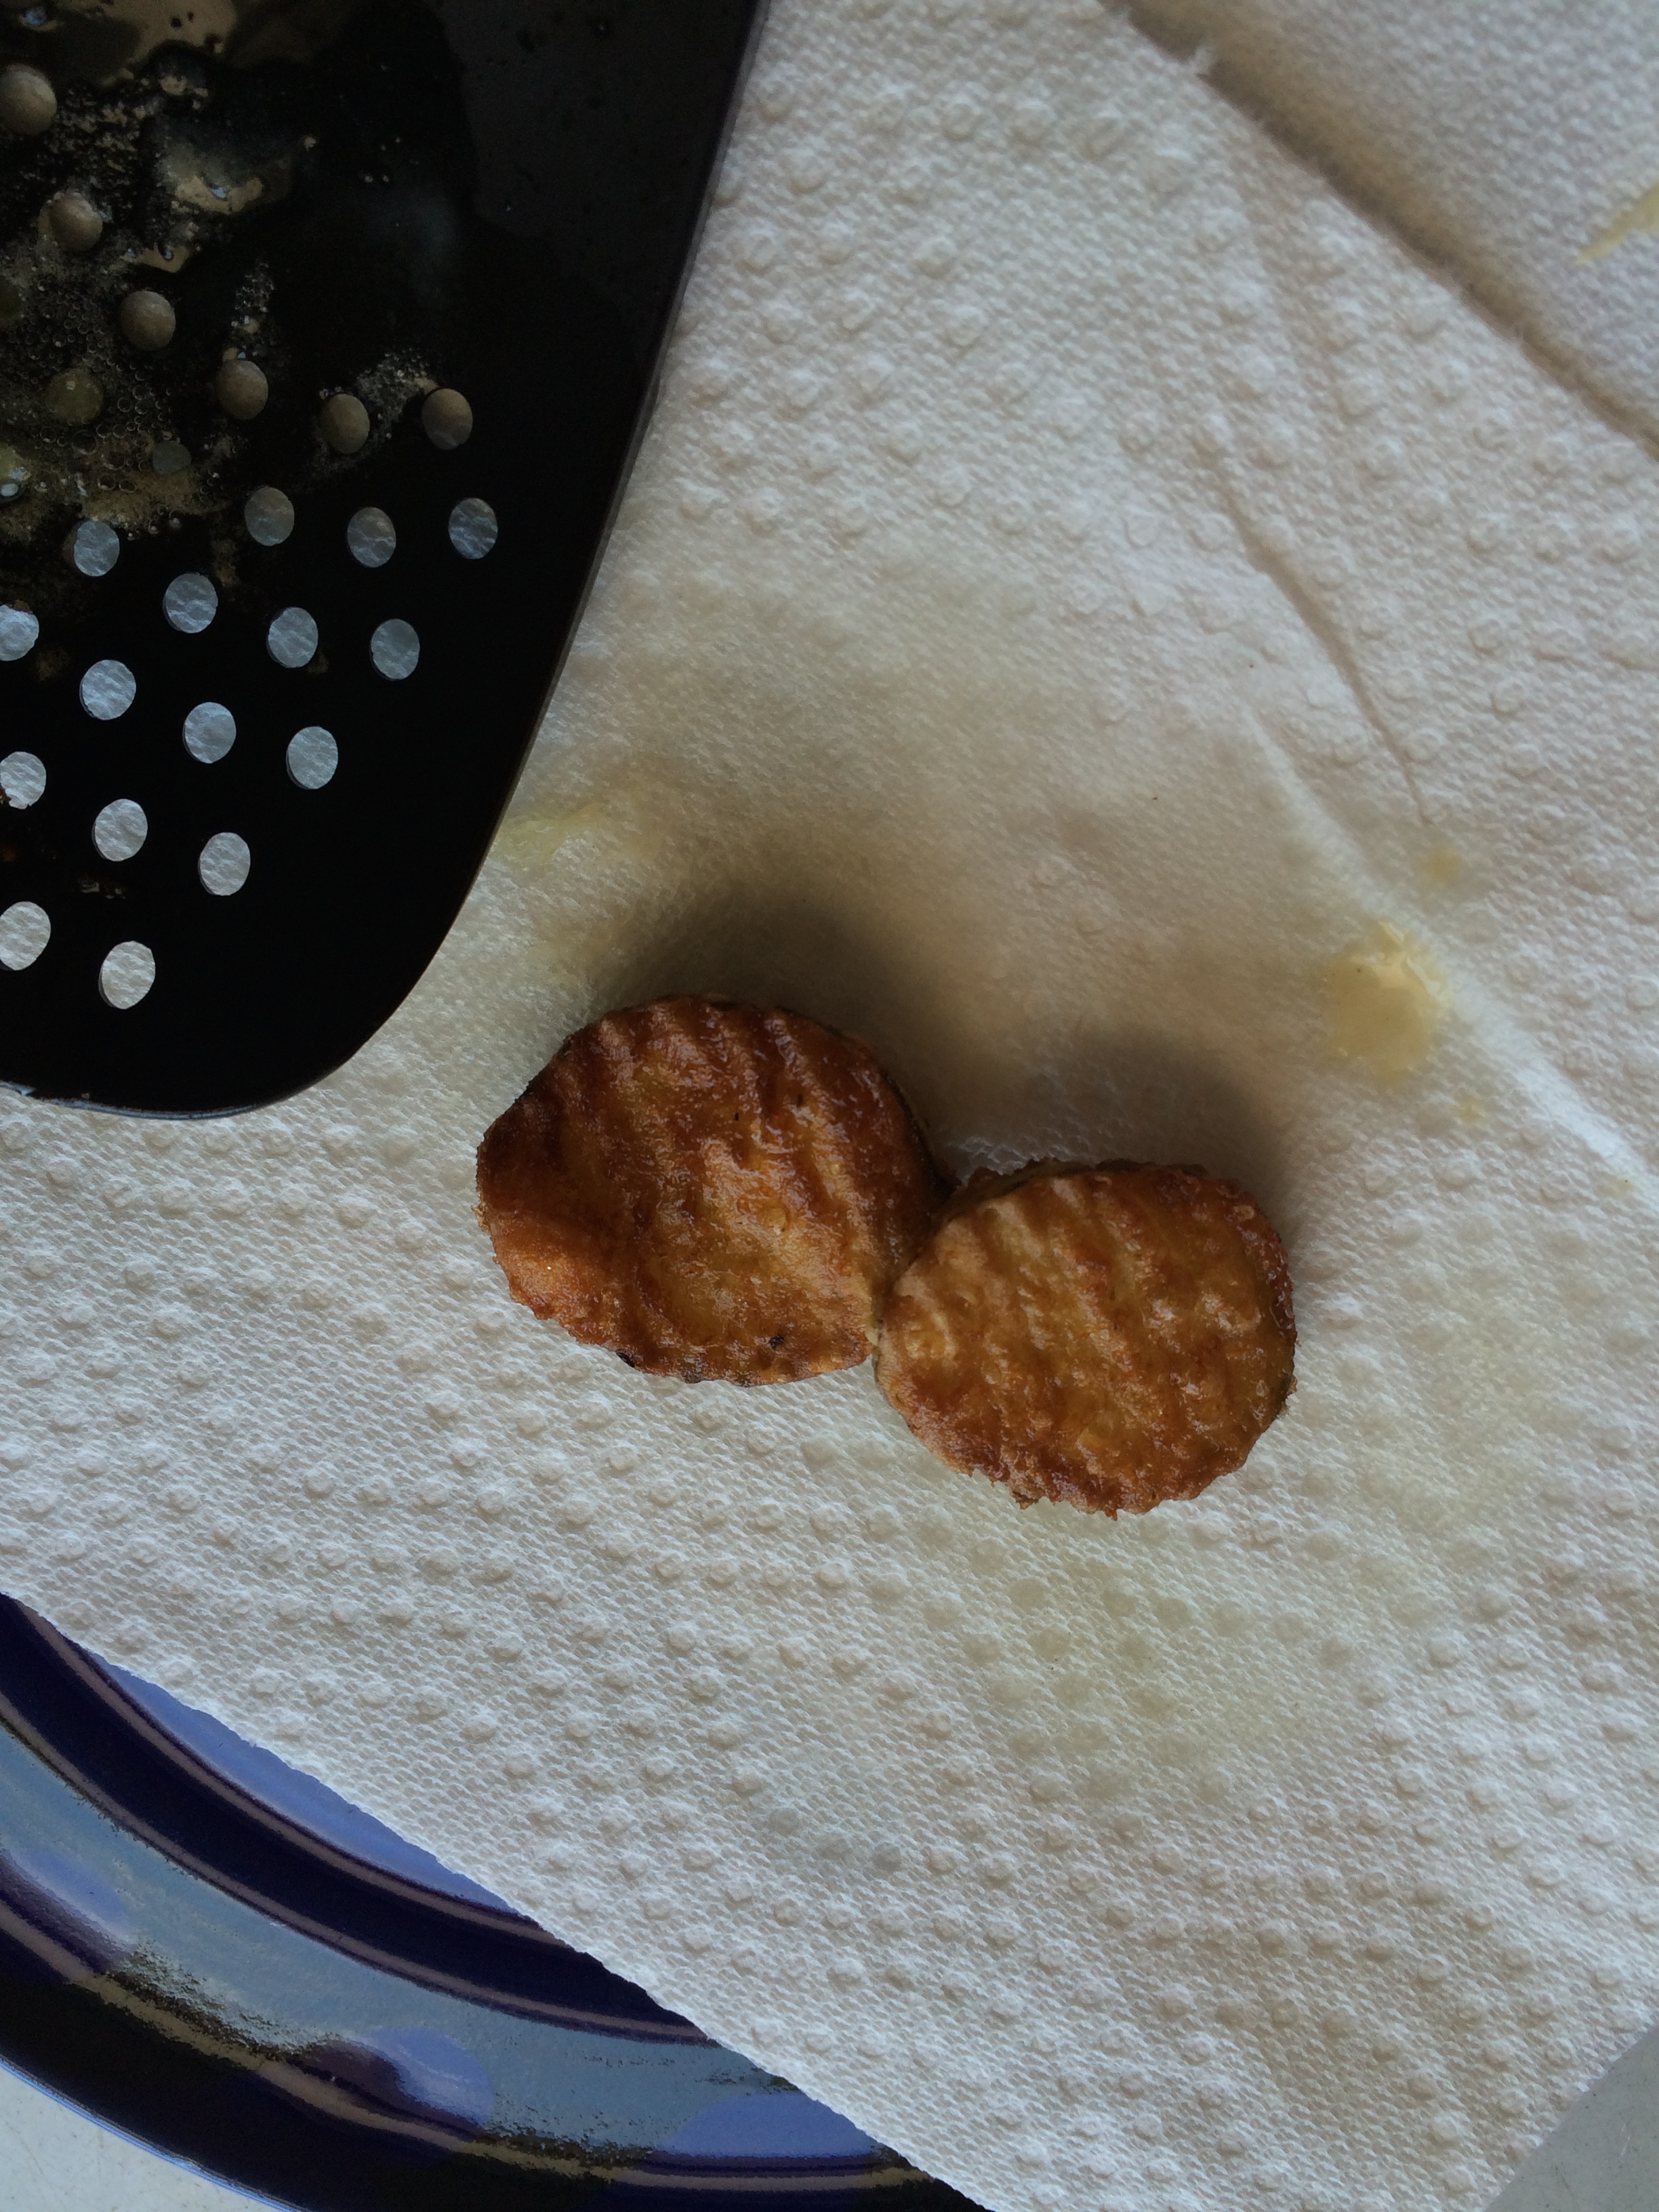
When they are golden brown, remove the pickle chips
Finally, just keep doing it over and over until you are satisfied with the amount of pickle chips you have, or the batter runs out. One final tip, if you know you will not be using all of the batter, and only plan to make a small batch, just use a portion of the batter. Just pour some into a different bowl for the frying time and keep the rest covered in the fridge so you can do more frying later.

Make sure to let them cool a little before you dig in!
Like I said, I’m sure this batter would be great on fish, and I know for a fact it is great on cheese curds! 🙂
Thank you for reading my blog, and I hope you enjoyed it!
<3,
Zoey and Mowgli

Mowgli and I hope you enjoyed your pickle chips as much as we did!
P.S. My mom wanted me to add the Rod’s Cream Ale from Public House Brewing Company located in St. James, MO (that I used in the batter) is great to drink too!


