Tags
baking, cat, cooking, easy pie crust, egg, family, gravy, Hairless cat, leftovers, Mowgli, pastry, pie crust, pie crust with egg and vinegar, Potpies, sphynx, Thanksgiving, Turkey, turkey stock, vegetables, vinegar
Hey everyone,
I’m back, and I have an amazing recipe for you! This recipe is great because you can use all that leftover turkey that no one really wants to eat because it doesn’t look beautiful. Also, if you have family lingering after the big thanksgiving dinner, and you’re panicking because everyone is tired of turkey sandwiches and you need something to whip up quick.
I had never tried this recipe before, but my friend Clare really wanted to make a blog with me. She came up with the great idea of making something to use up the last of that thanksgiving turkey. She also brought her camera over and that is why the pictures in this blog are uncharacteristically beautiful! Thanks Clare!!
So the first thing that I started out with was making the crust. The idea here is that you would use leftover piecrust from Thanksgiving, but the pie crust my mom and I made for the apple dumplings was horrible. LOL. So I started from scratch using a new recipe. I must say this was the easiest pie crust I have ever made. Granted it was only the second pie crust I have ever made, but 10/10 recommend using this recipe if you are going to make your own. Of course I do have to say that using puff pastry is always an option, but using this new recipe I am about to show you, I say why bother going to the store when you can have the perfect, no fail, homemade pie crust in 15 minutes. Just sayin’ . . .. Impress your relatives!
Ingredients:
Pastry:
4 c Flour
1 tbl sugar
1 ½ tsp salt
1 ¾ c vegetable shortening
1 tbl white vinegar
1 egg
½ c water
Filling:
3-4 c diced turkey
¼ c butter (1/2 stick)
1 ½ finely chopped yellow onion
4 c chicken or turkey stock
1 c small potatoes, cut in ¾ in dice
1 c carrots, peeled, cut in roughly ¾ in dice
½ c flour
1 ½ tsp salt
several grinds of freshly ground pepper
¼ c whole milk
1 c frozen peas
Glaze:
1 egg yolk
2 tsp whole milk
½ tsp paprika
Part I: The Crust
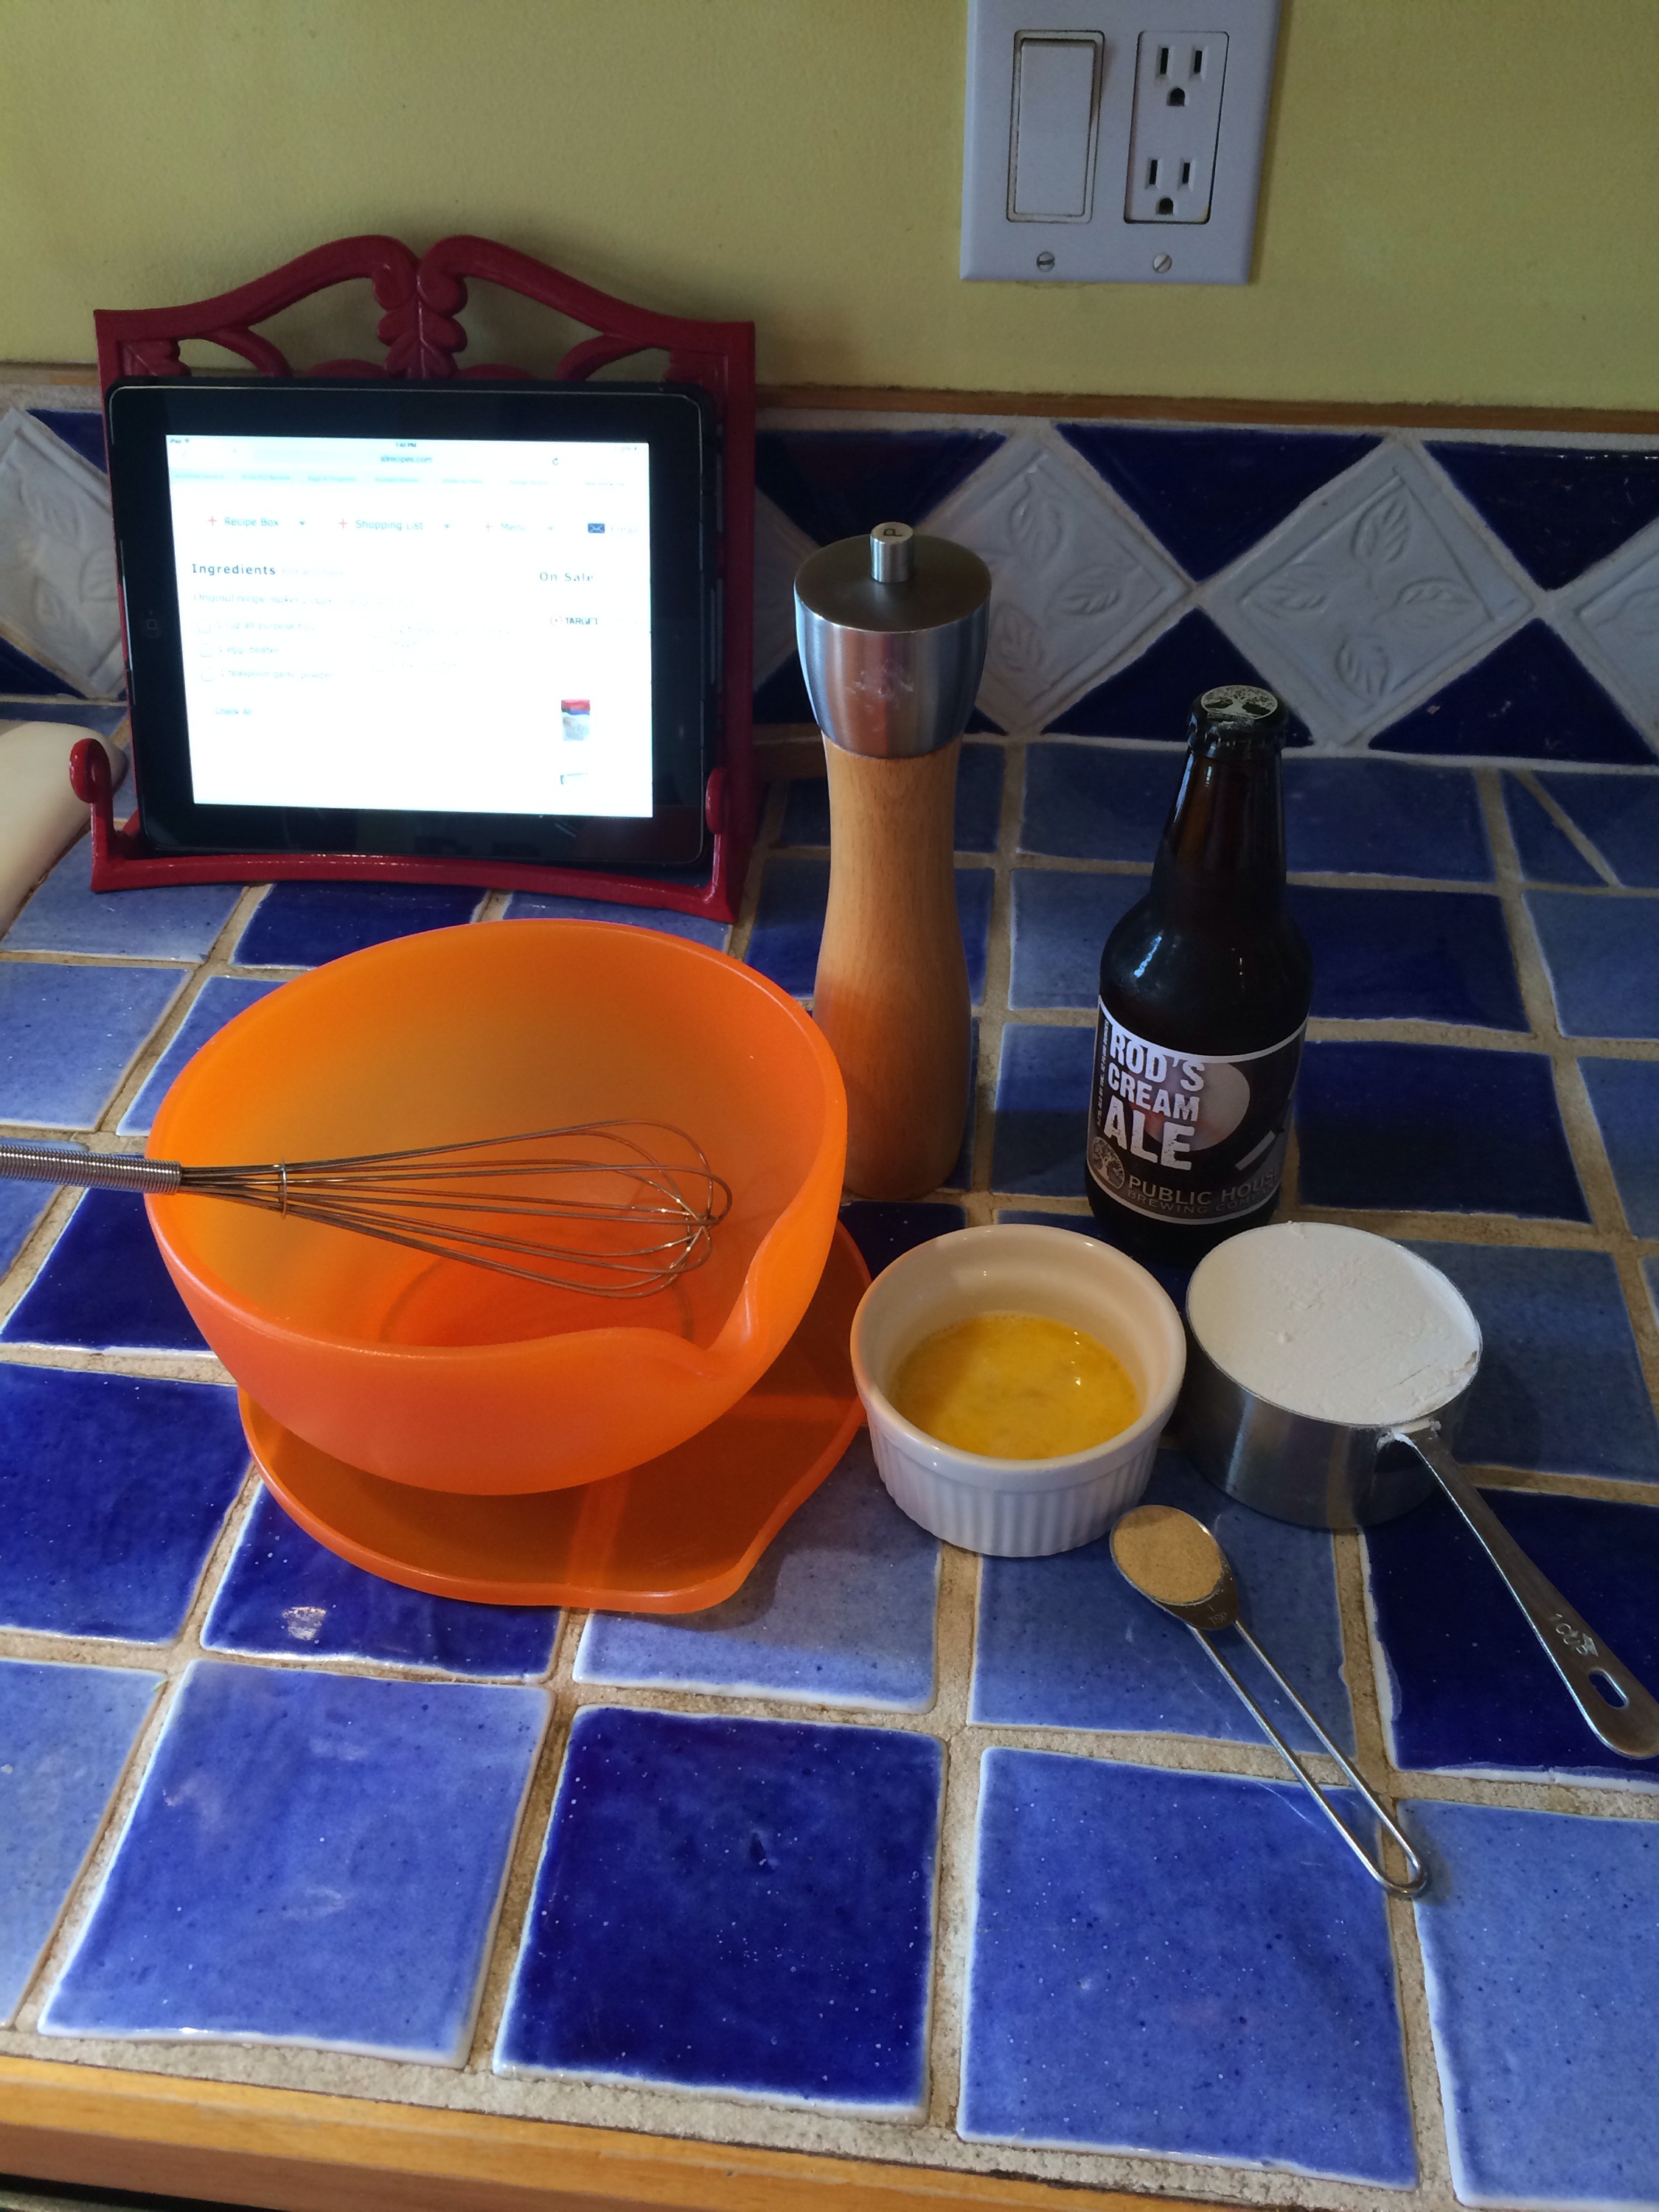
Alright, so first, you are going to make sure you have set out all of your ingredients. I suggest using a large bowl because the pie crust process can get a little messy and if you have a big bowl the mess stays mostly in the bowl instead of on your table.

Next, combine the flour, sugar and salt together in the large bowl I mentioned earlier.

Then, we come to the shortening. Take heart, this is the hardest part, after this it is smooth sailing. You are going to want to cut your shortening into chunks before you put them into the flour so you have less work to do. Plop them in and the fun begins!

Using a pastry cutter (I think that’s what they are called) begin cutting the chunks of shortening until they are about pea sized. There are two types of them, whatever their name is, one with wire blades and one with real blades. I used to have one with wires and now I have blades. The blade one works much better in my opinion; it is much more efficient.

Once the shortening is in about pea sized chunks begin preparing the wet ingredients. If the idea of making the shortening pea sized doesn’t make sense to you, also think about making sure there is no loose flour. The flour should be completely coating the fat.

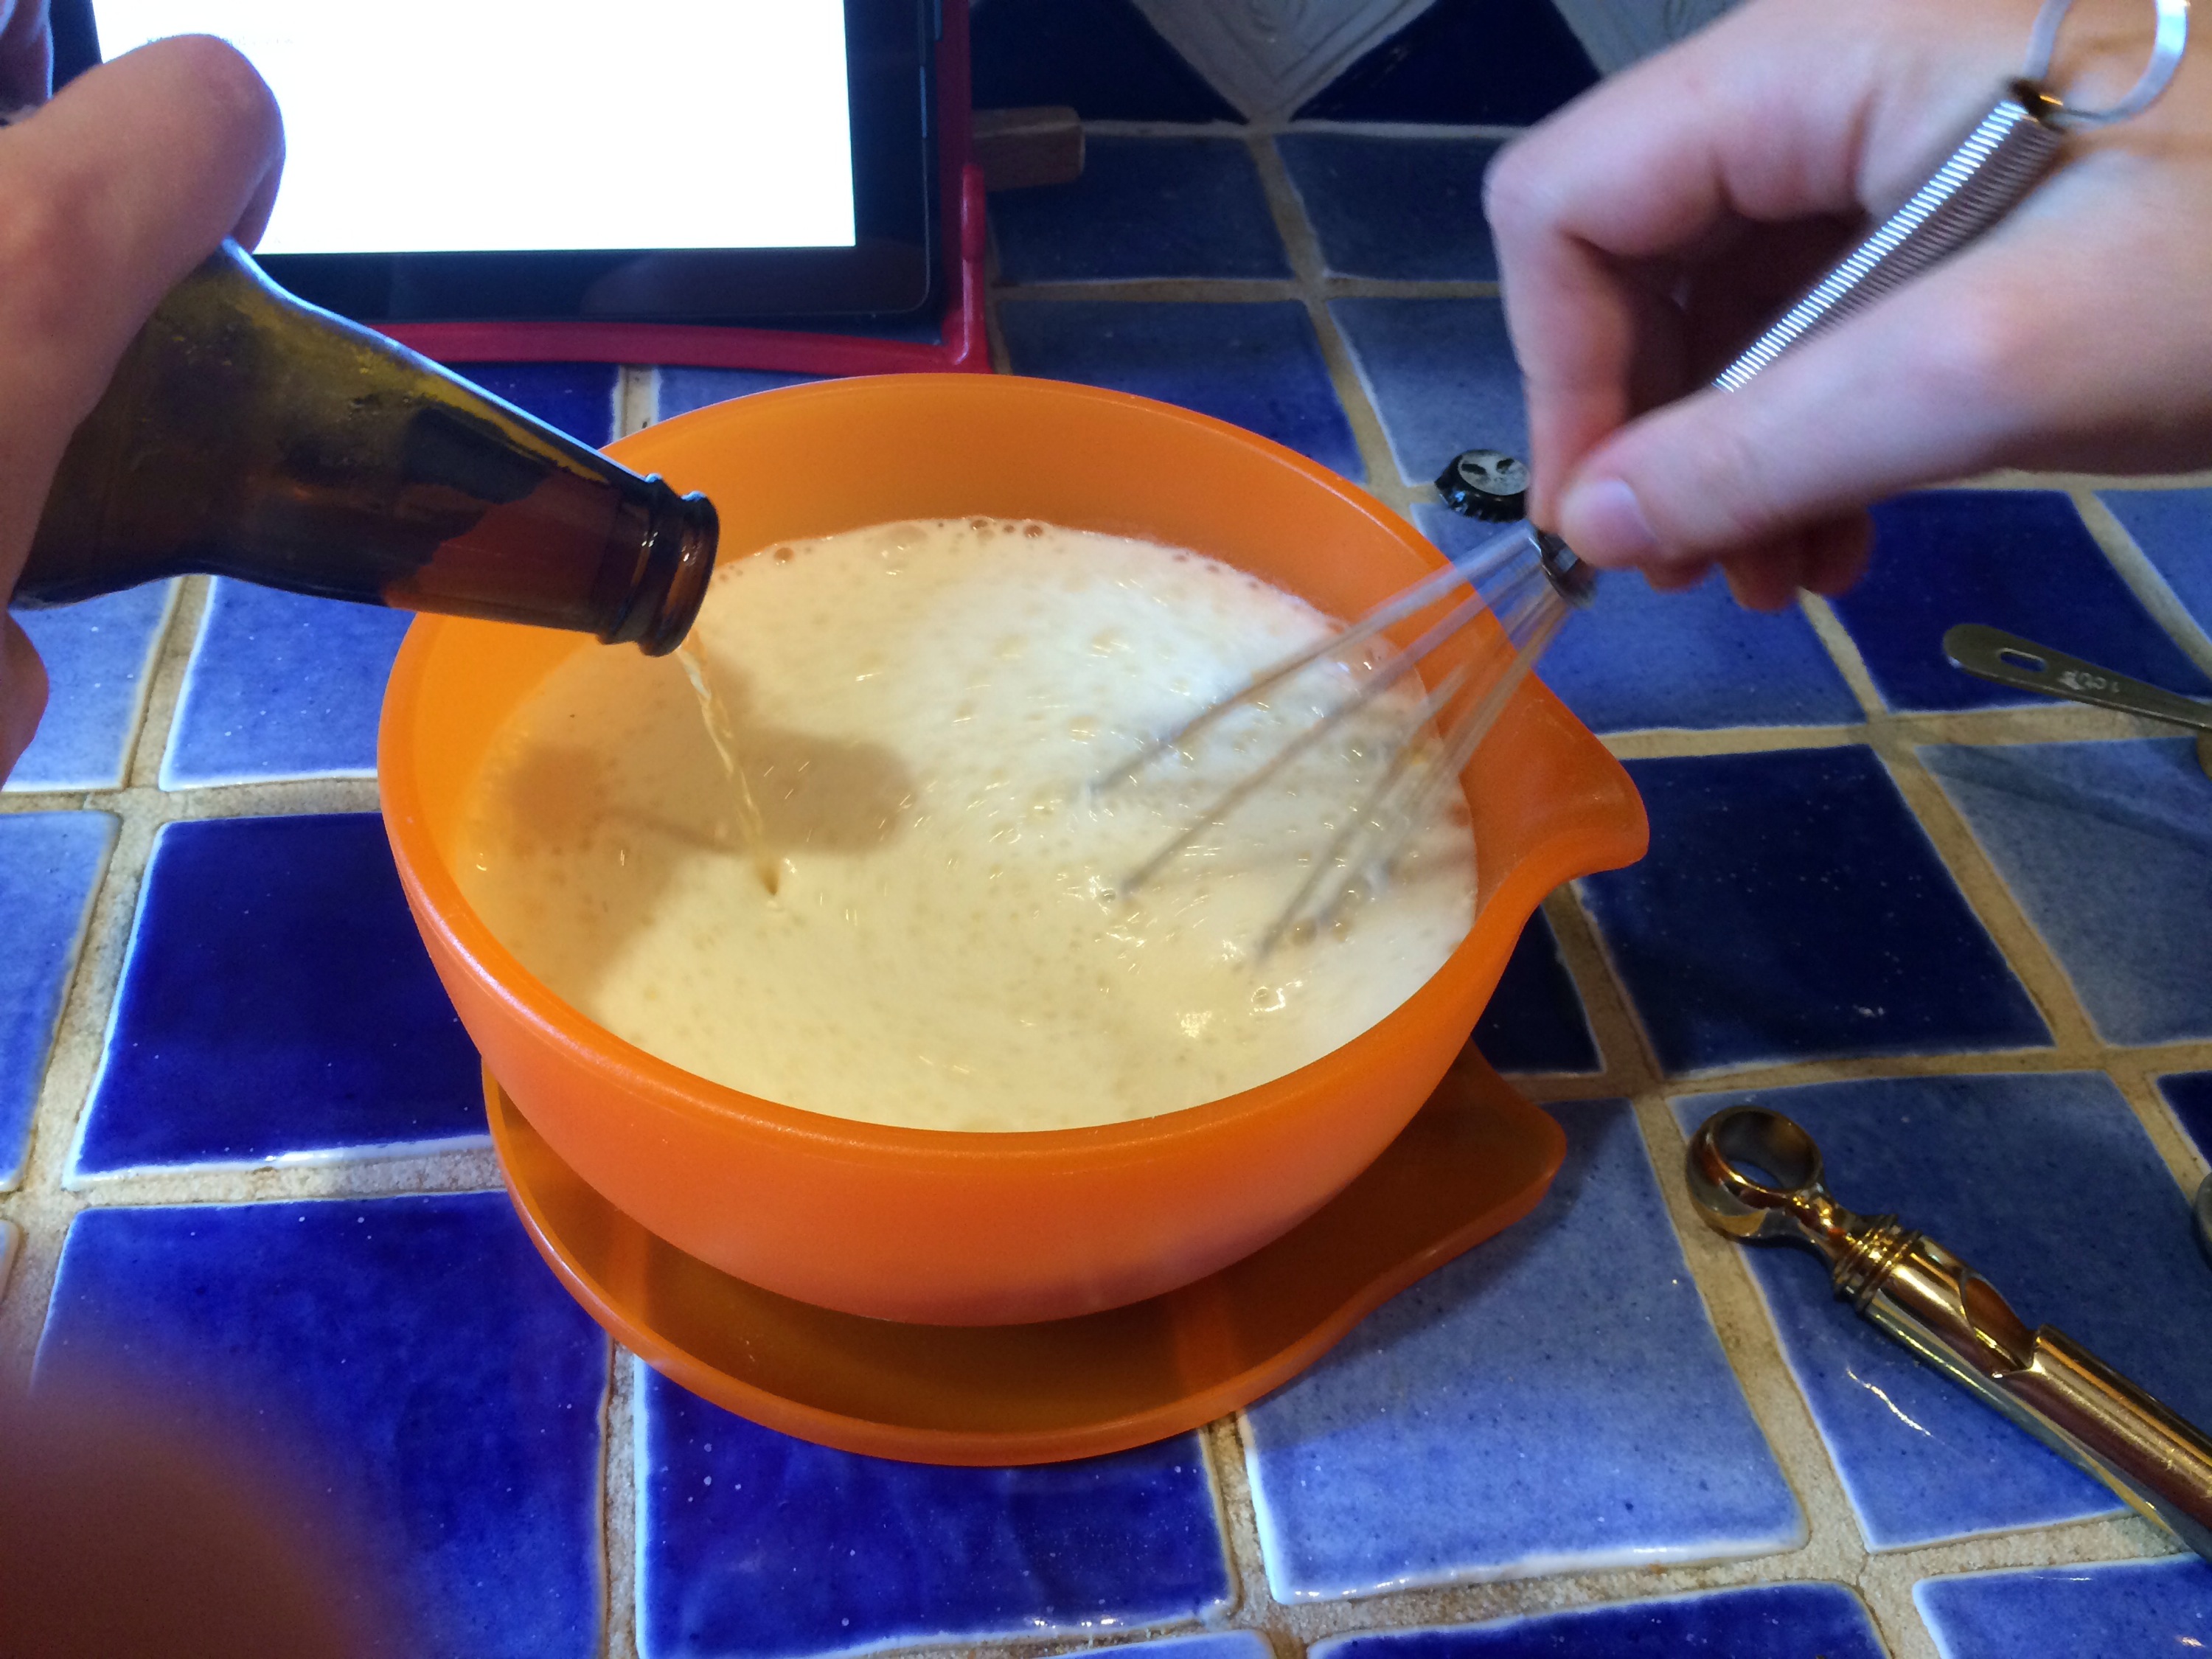
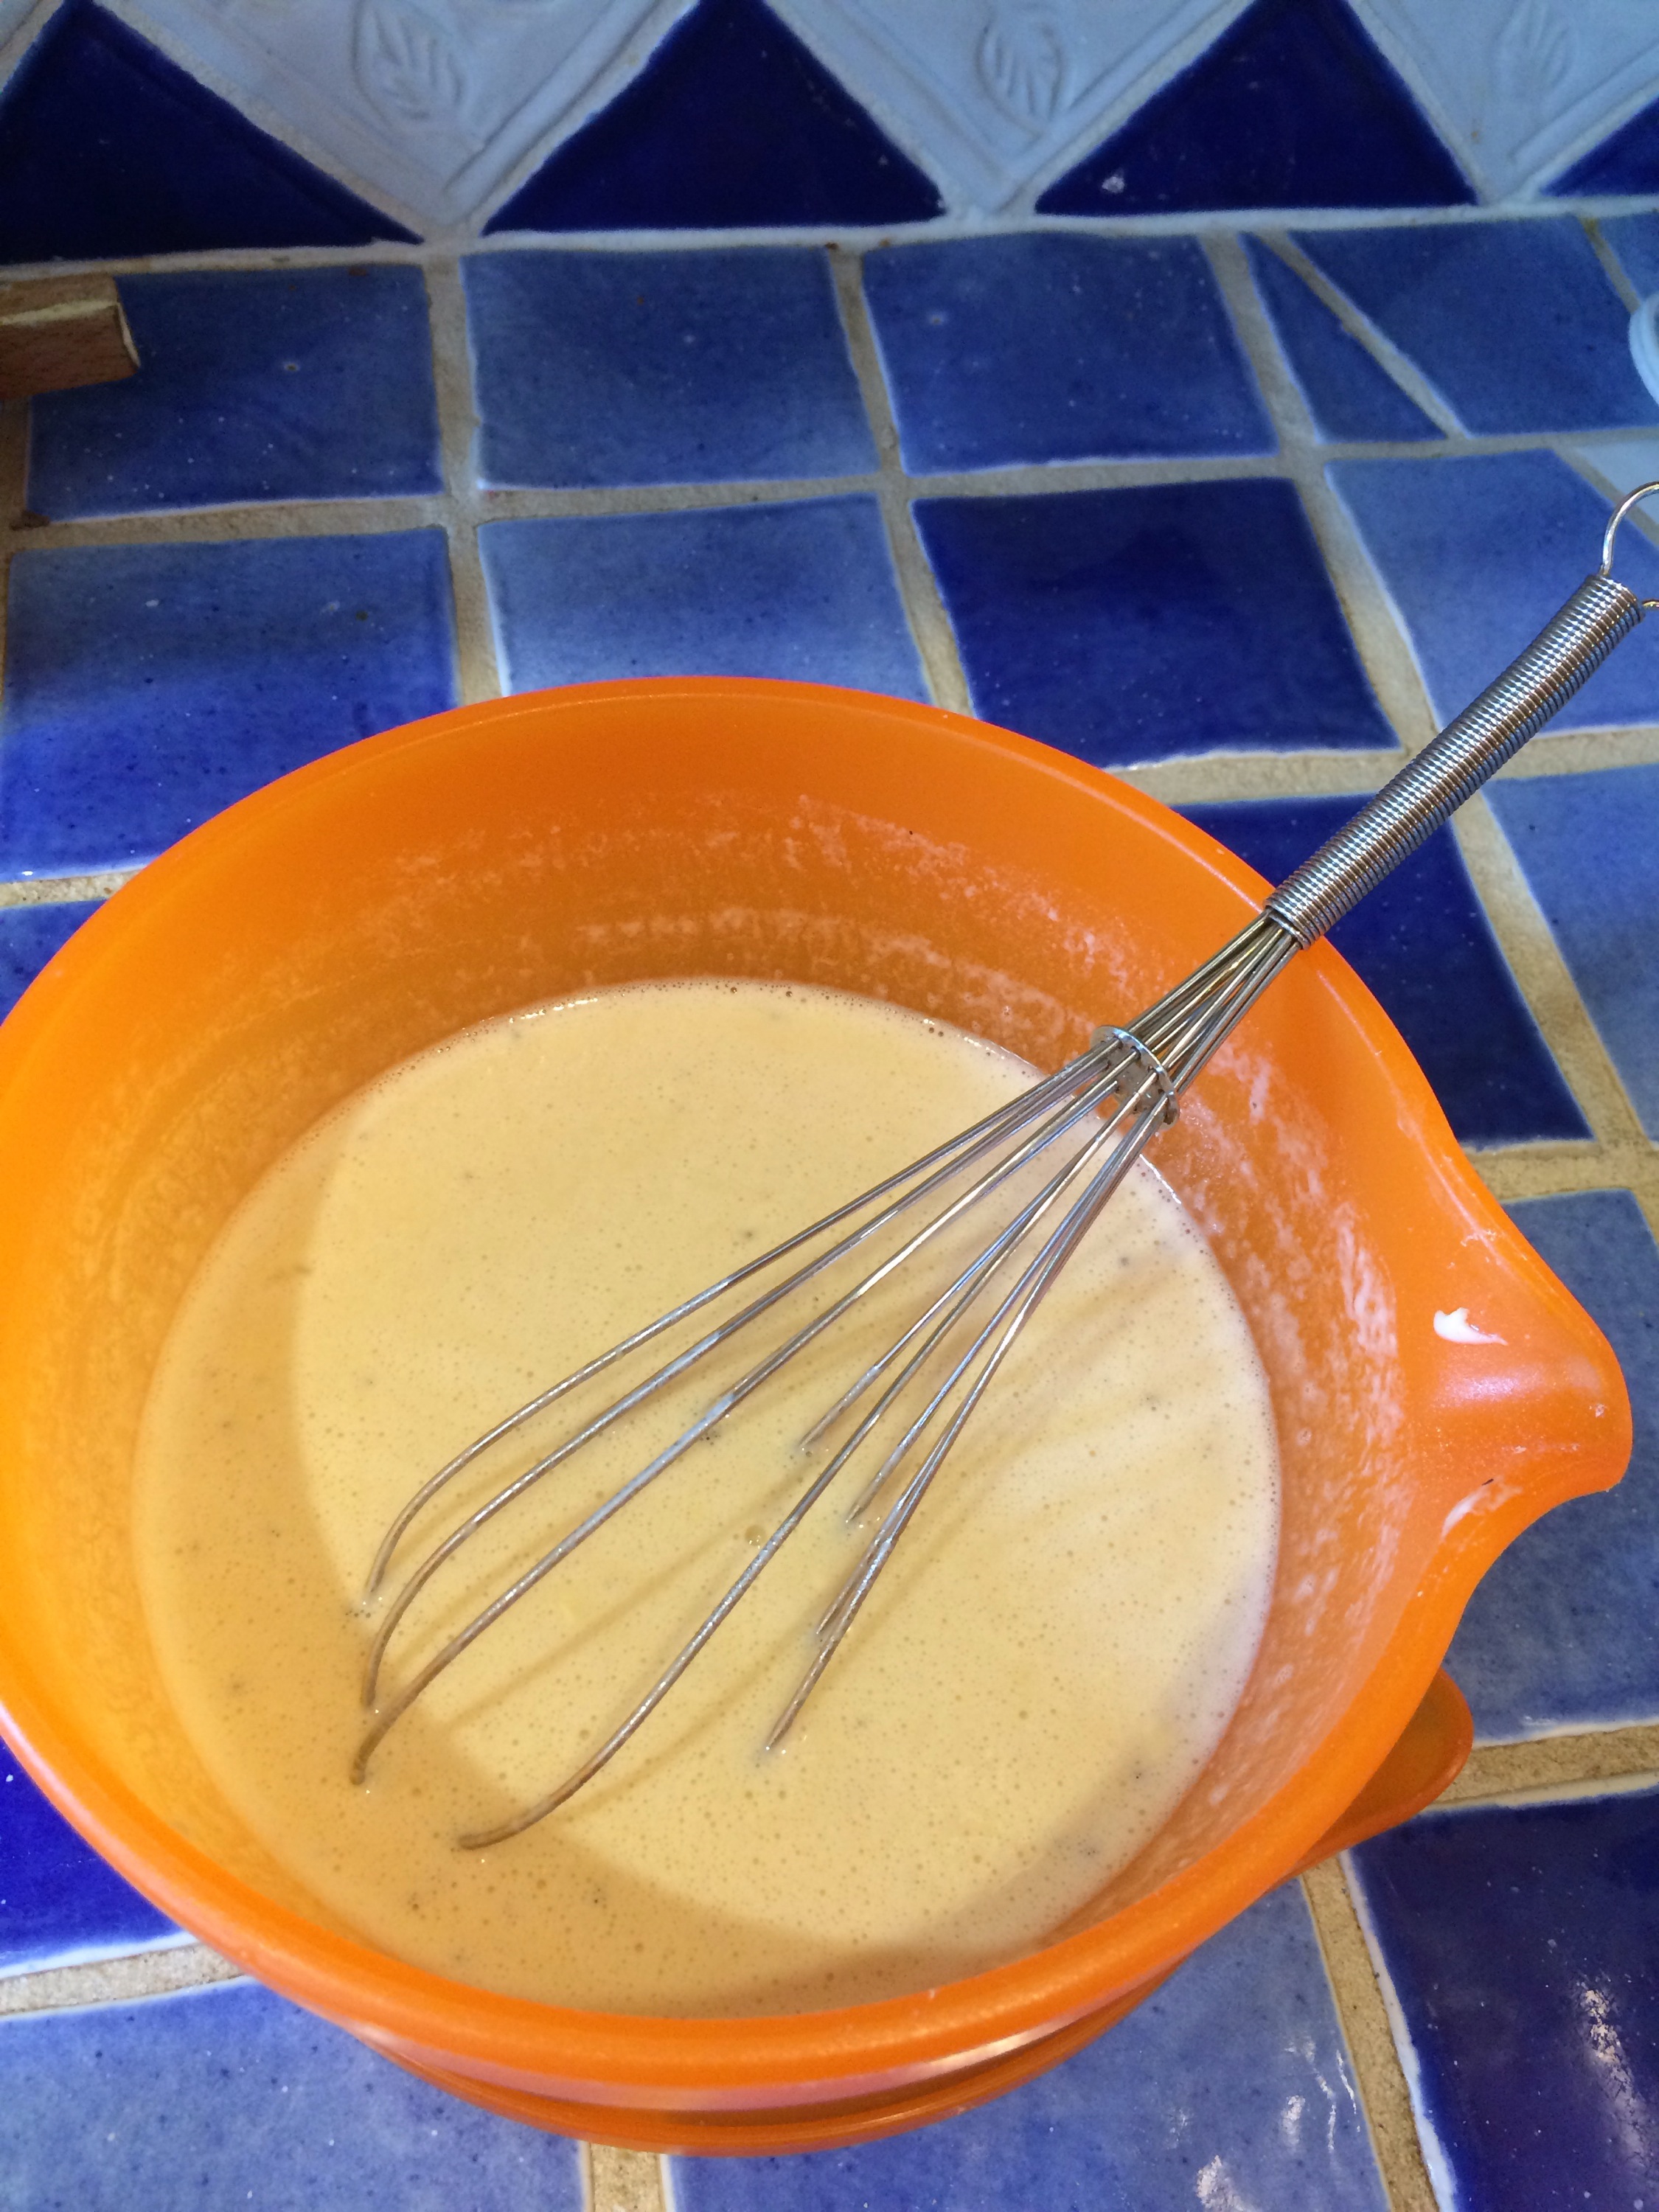
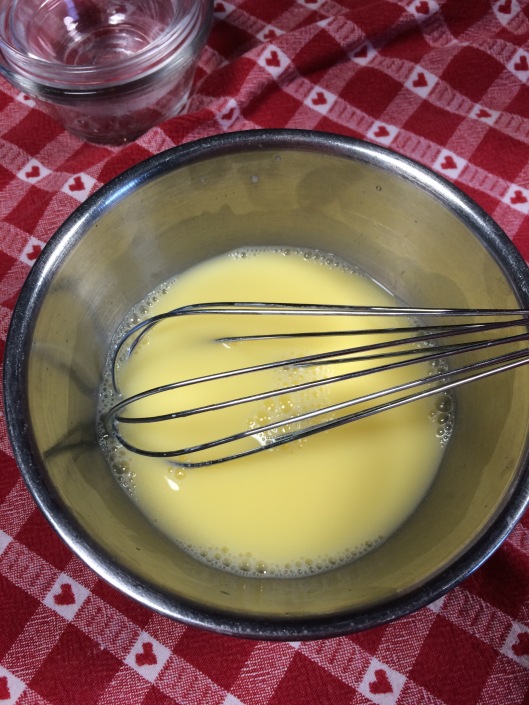
To prepare the wet ingredients, just whisk the egg, the water and the vinegar together in a small bowl.
Once the wet ingredients are completely combined, add them to the dry ingredients, and using a fork begin combining them. I transitioned to using my hands after the egg was mostly absorbed into the dough. Continue mixing until all the dough is moist and can stick together in a large ball. Be careful not to over mix the dough; if you over work it something happens to the gluten and the crust gets tough.

After the dough is mixed, divide it into four balls; make small patties out of them. Cover the patties in plastic wrap and then store them in the fridge until you are ready to use them. The original recipe I used did not require refrigeration but I would recommend at least ½ hour.

I made the pastry dough up before Clare arrived because that is the less fun part of the meal, in my opinion. While we let the dough chill a little, Clare made a new friend: Mowgli! I knew you were all probably wondering when the dude would make an appearance. Well, here he is in all his glory, visiting for Thanksgiving! My sister, Kate, his legal owner, put him in his cute little tuxedo just for the occasion. LOL.

Part II: The Filling
After we were content with our Mowgli love, we started on the potpie filling.
So to start, we washed, peeled and chopped up our carrots, potatoes and onions.

Next we added the butter and the onions to a large saucepan on medium heat, cooking the onions about 10-15 minutes until they were translucent.
While the onions cooked, we brought the turkey stock just to a boil and dropped the carrots and potatoes in. Just a quick side note about the turkey stock, my dad made it from scratch from the refuse of our picked clean turkey. Just thought I would give him a quick shout out for that! Obviously, making your own turkey stock is NOT necessary, you can sub chicken stock too if turkey is hard to find. Cook the carrots and potatoes for about 5 minutes until they are slightly tender, and use a slotted spoon to remove them from the stock and into a small bowl.

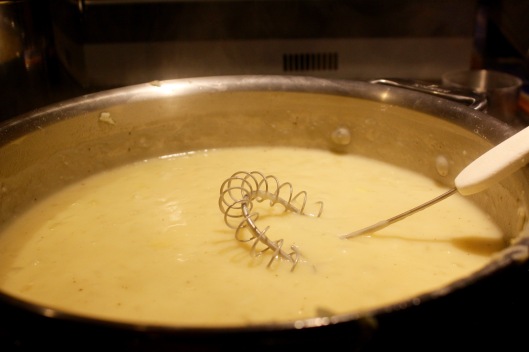
Next add the flour to the onions and butter and make sure it is evenly coating all the onions with minimal clumping. Then, pour in the turkey stock, bring to a simmer and stir constantly until thick, about 1-2 minutes.
Finally, stir in the salt, pepper, turkey, carrots, onions, whole milk, and frozen peas. Leave on low heat while you roll out the pastry.

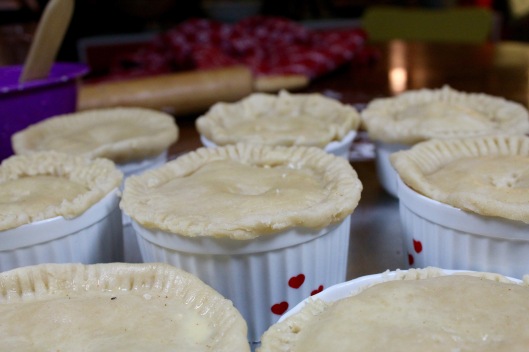
Roll the pastry out so it is about 1/8 inch thick. Then, cut it into circles that are about 1 – 1 ½ inches wider than the ramekins you chose. We did two sizes of ramekins, one set that are taller and narrower and one that is shorter and wider.

After you have the pastry cut out, spoon filling into the ramekin unil it is full but not over flowing.
Then place the circle of pastry right on top trying to line it up with the middle as much as possible. Press the pastry down lightly around the edges of the ramekin and then fold the edges under the back of the extra dough. Once you have that done you can experiment with making pretty patterns on the edges. If you have any crazed little cousins running around at this point this is a fun activity for them to do. Have them make their own and decorate it how they like! We mostly just used our fork to crimp the edges but get creative and have some fun with this part! DO NOT forget to poke holes in the top though or your potpies with explode in the oven!
After all the potpies have been covered. Whisk the ingredients for the glaze together in a small bowl, and brush the glaze lightly on top of the dough. This will make the finished potpies pretty and golden when you are finished.

Next, place them on a cookie sheet and pop them into the oven at 350 for about 30-35 minutes or until they are golden brown on top. Remember that everything on the inside is fully cooked so the pastry crust is all you need to worry about.

Once the crust is golden brown, pull them out and let them cool for about 3-5 minutes.

Place each potpie on a plate, serve and enjoy!
I hope you enjoy this recipe, thanks for reading,
<3,
Zoey, Mowgli and Clare!
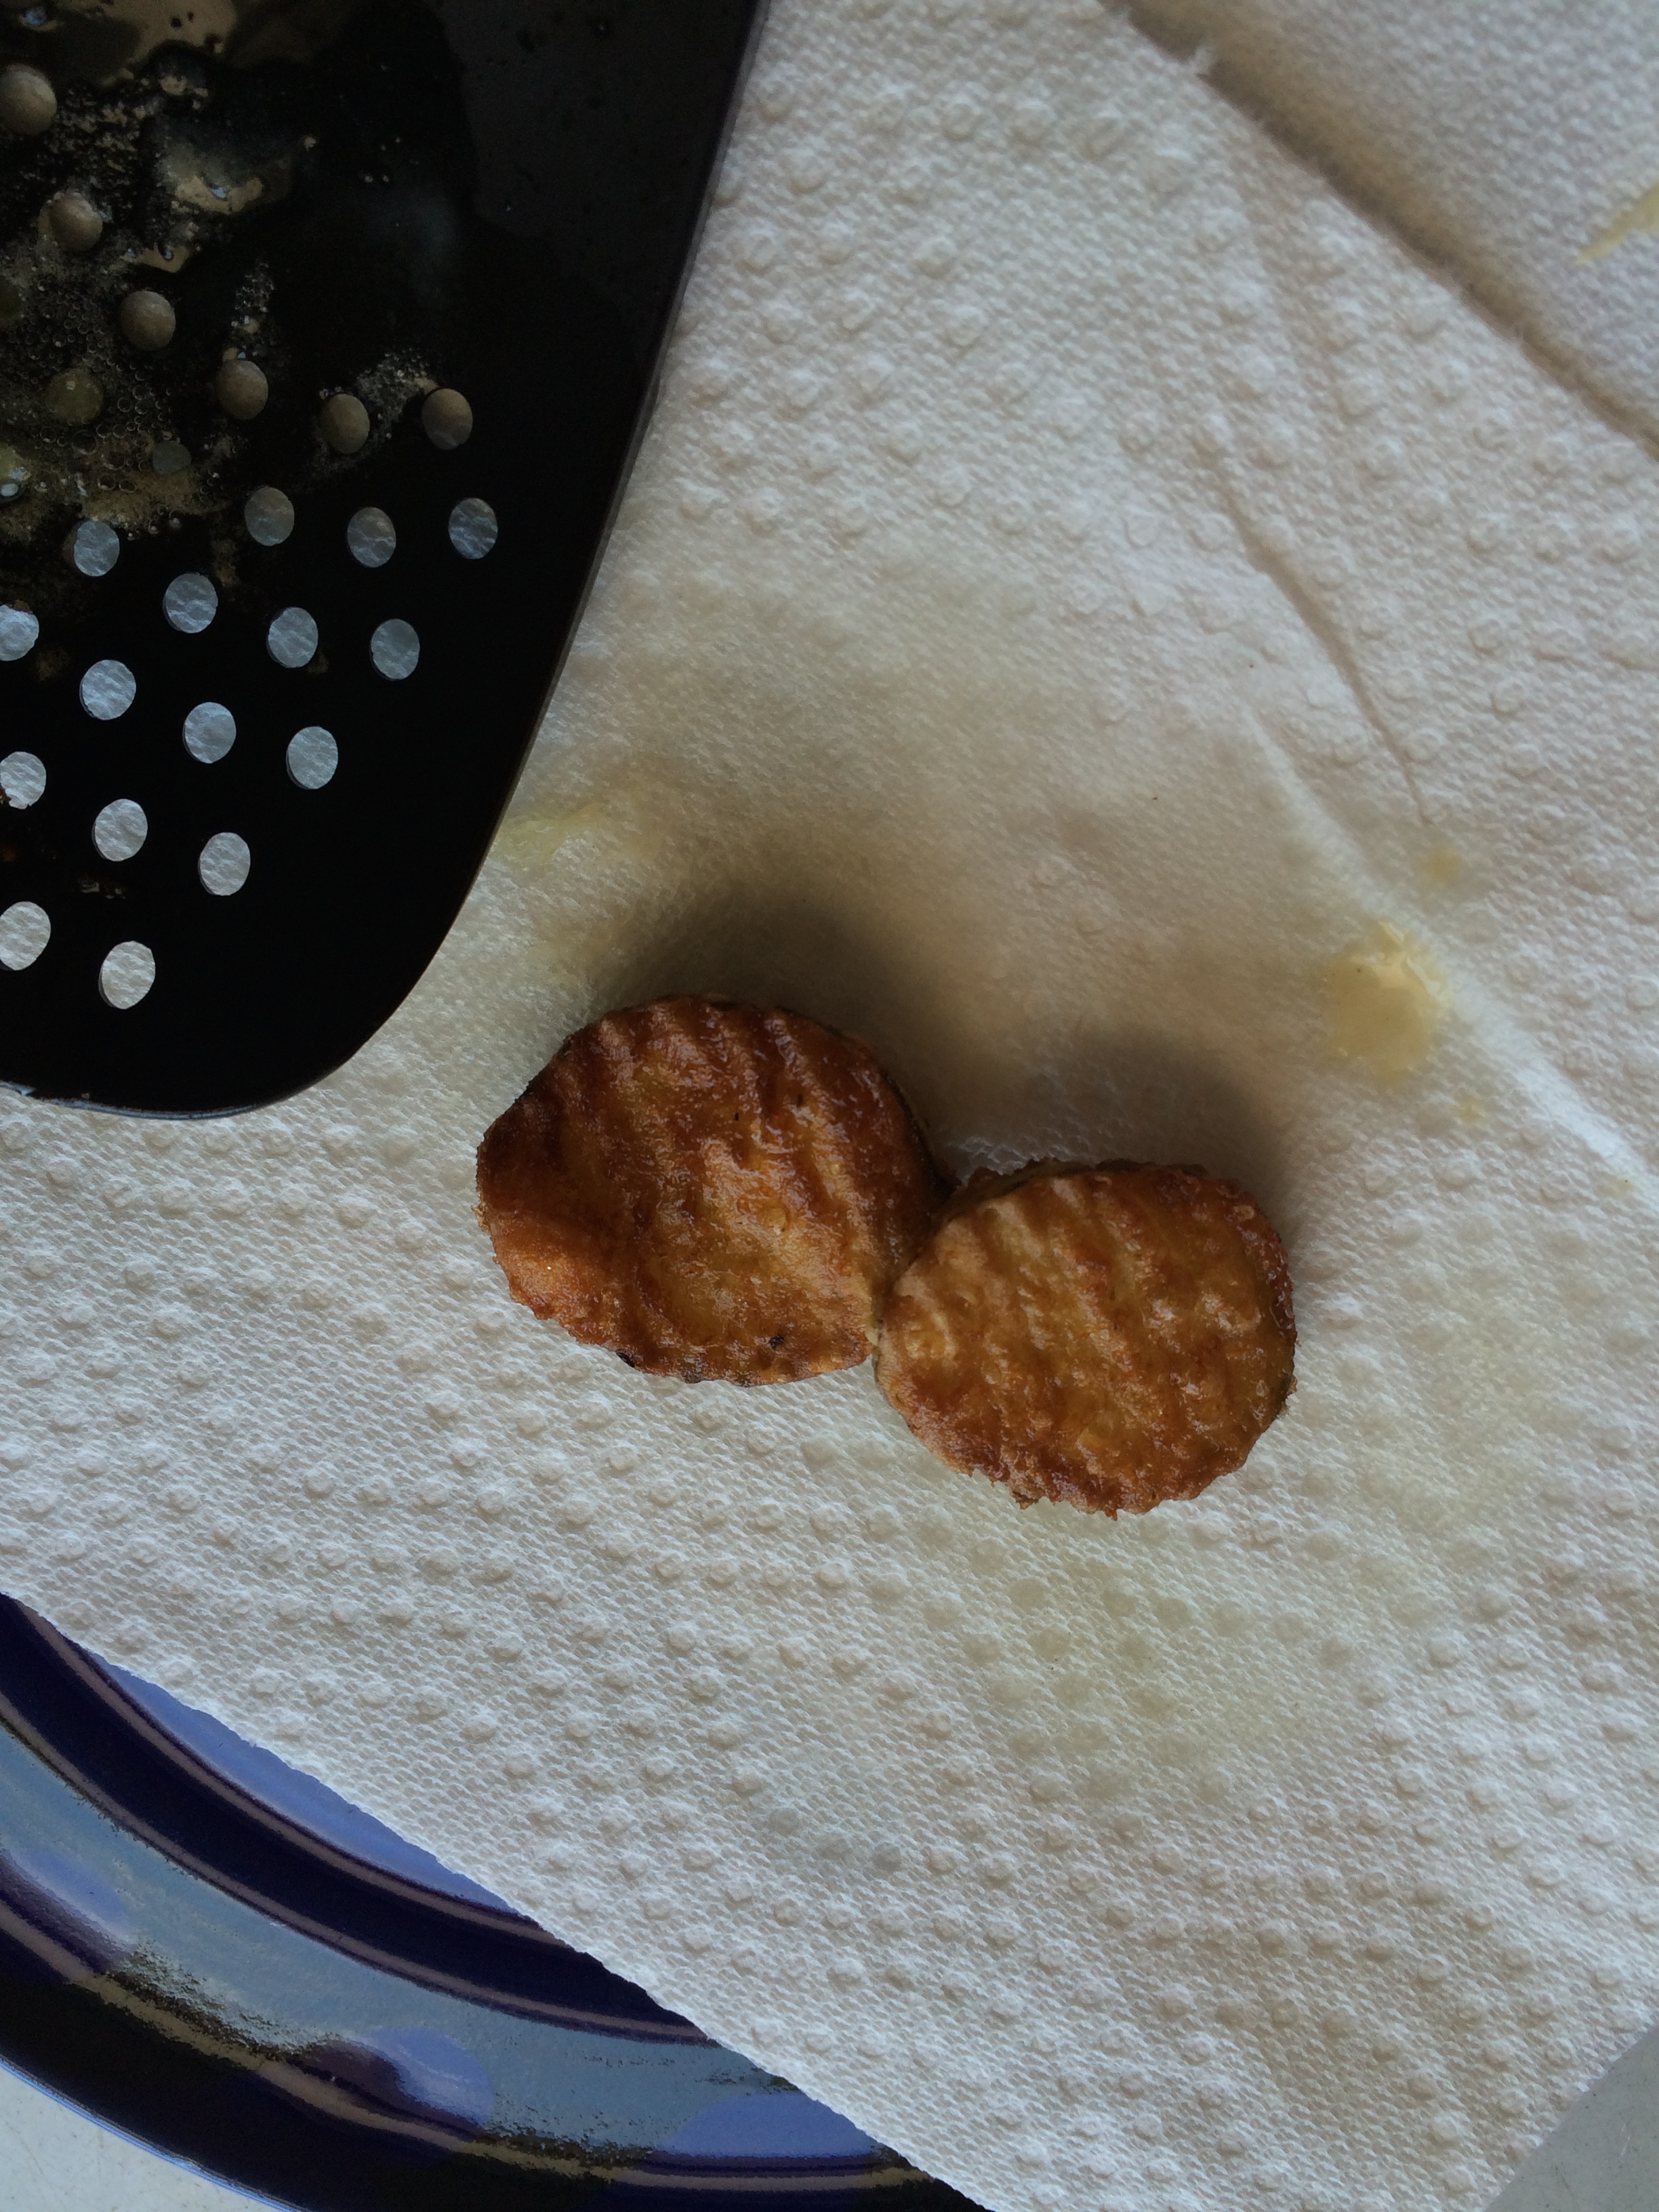
P.S. My mom really messed up with the first crust, though in our defense there may have been an extra cup of flour. All’s well that ends well though, as I found a new, much improved no-fail crust recipe. Yay!!